
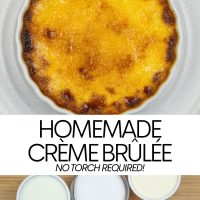
Few desserts feel as “special occasion” as crème brûlée (maybe a chocolate mousse…). And the good news is, it’s actually refreshingly easy to make at home – without any special equipment! It’s totally possible to get the crisp, burnt sugar top on a baked custard without purchasing a torch.
Or, perhaps you already have a torch but you have run out of fuel, or it’s not working for any other reason – no need to worry! It’s simple to brulee the top simply using the grill/broil function in your oven.
How to Make Creme Brulee Without Using a Torch
Creme brulee is remarkably similar to flan; there’s just no caramel involved and you eat it directly from the dish.
But the process to make the custard itself is basically the same thing – and it’s super simple.
To begin, I like to infuse my milk and cream with a whole vanilla pod. Add an equal amount of heavy cream and whole milk to a saucepan.
Split a vanilla pod in half and scrape the seeds. Add the seeds and the pod to the milk mixture along with a generous pinch of salt.

Set the pot over medium heat and, stirring every so often, gently heat the milk until it’s just shy of a simmer. You’ll know you’ve reached this stage when you see small bubbles beginning to form beneath the surface and the mixture is very steamy.
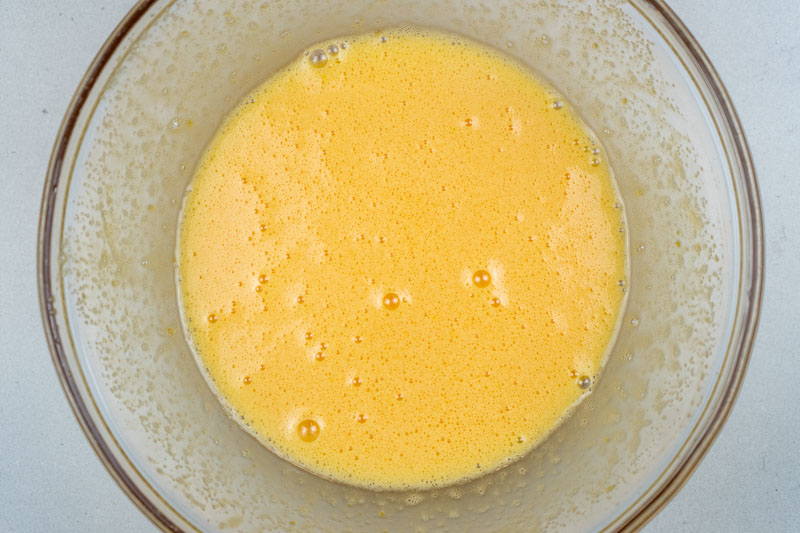
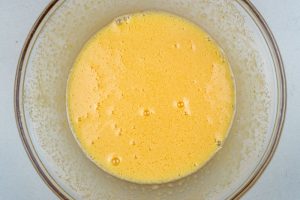
While the milk and cream is heating up, go ahead and vigorously whisk some egg yolks, a whole egg and some sugar in a medium mixing bowl. Whisk these all together until everything is very frothy.
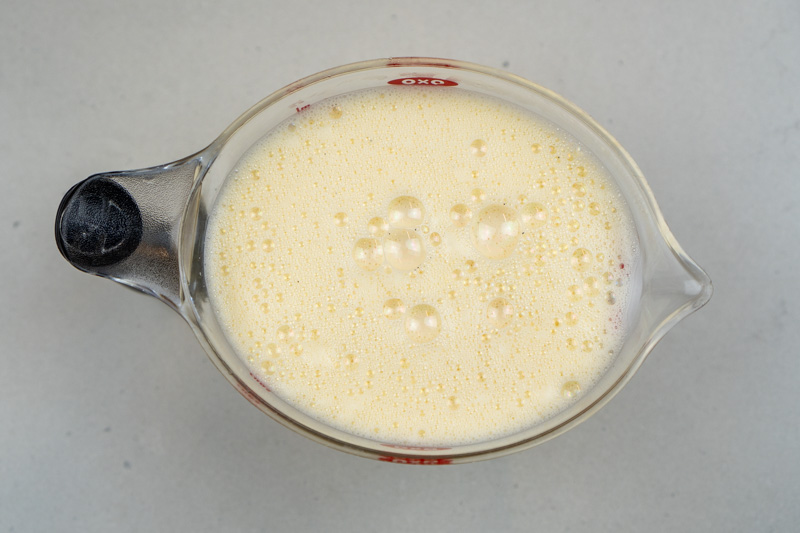
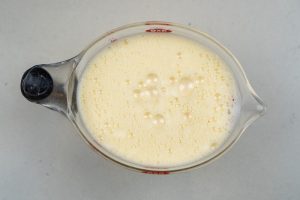
As soon as the milk has adequately heated, go ahead and fish out that vanilla pod and, whisking constantly, slowly pour the milk mixture into the egg and sugar mixture.
Then, set a fine mesh sieve over a jug (or something with a pour spout) and strain the custard through the sieve, just to catch any large particles that may be in the mixture. If you’ve noticed, this is simply an elevated, cooked version of a custard for French toast!
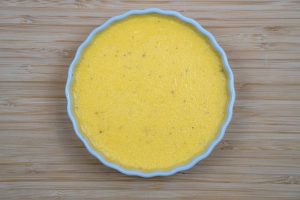
Next, set some ramekins on a baking tray that’s been lined with a clean tea towel – the tea towel is there to prevent the dishes from slipping about. Evenly pour the custard between the ramekins.
Move the tray to a 150°C/300°F oven and pour some boiling water into the baking tray. You want the water to come up about halfway along the sides of the ramekins, but make sure no water gets into the custard itself.

Bake the custards until they are set around the edges but wobble in the middle – this will take about 20 minutes, but could take longer depending on your oven. Carefully remove them from the oven and allow to cool to room temperature.
Then, move the custards to the fridge to chill completely – at least 3 hours.

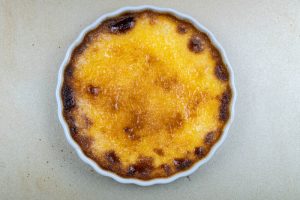
When it comes time to serve, move the top rack of your oven to the highest place. Then, turn on the broil/grill setting as high as it will go.
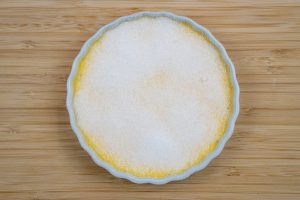
Remove the custards from the fridge and dust each one with a thin layer of sugar. Place them on a tray and set them on the rack directly under the broiler.

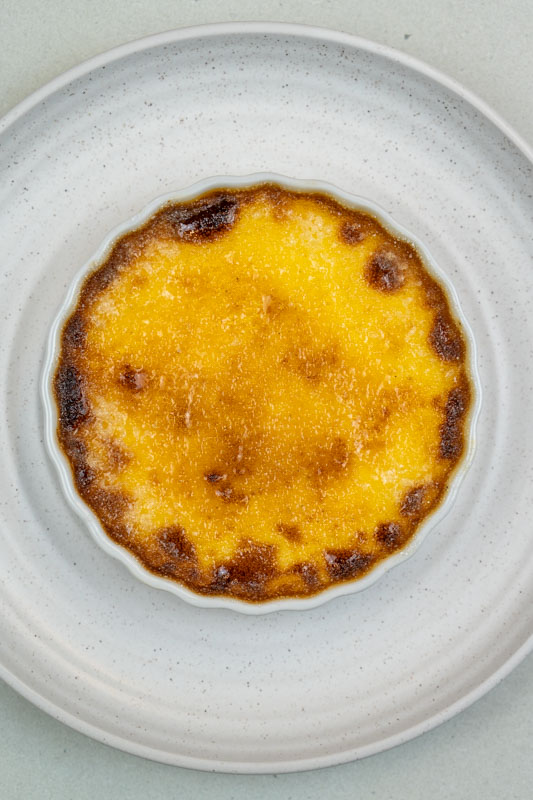
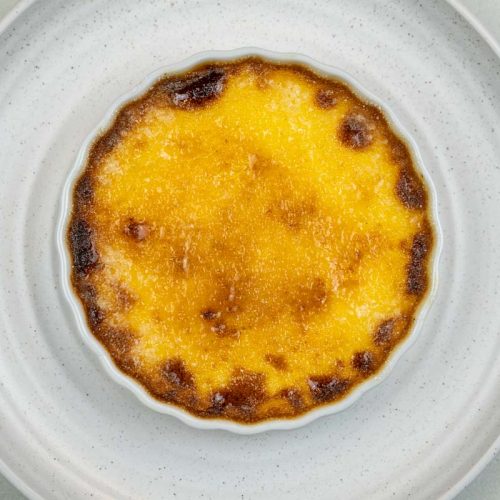
Keeping a very keen eye on the custards, let the sugar melt and caramelise – making sure to rotate them if one side is getting more caramelised than others. This will take about 3-5 minutes, but it can depend on the heat of your oven.
Once the top has been bruleed, you are ready to serve – just wait until the sugar has completely set!

Classic Crème Brûlée (Without a Torch!)
Equipment
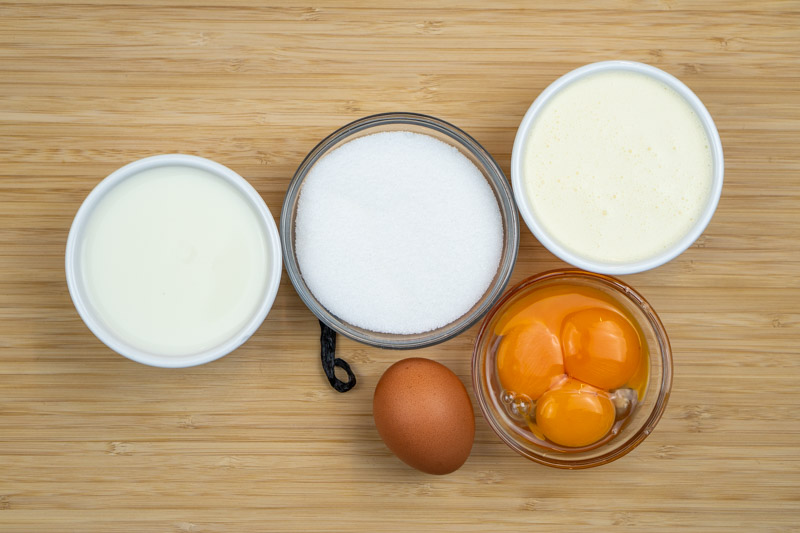
Ingredients
- 200 ml (¾ cup) cream heavy or double
- 200 ml (¾ cup) whole milk
- 1 vanilla pod seeds scraped & pod reserved (see note)
- ¼ tsp salt
- 100 g (½ cup) sugar divided
- 3 egg yolks
- 1 egg
Instructions
- Preheat oven to 150°C/300°F. Bring a large kettle of water to a boil. Add the cream, milk, vanilla seeds & pod and salt to a medium saucepan. Set over medium heat and, stirring frequently, slowly heat the milk mixture until it's just shy of a simmer. Remove from the heat and fish out the vanilla pod.

- Meanwhile, add 65g (⅓ cup) of the sugar, egg yolks and whole egg to a medium mixing bowl. Whisk vigorously for about 1 minute, until the mixture is pale and frothy.
- Whisking constantly, slowly stream the hot milk mixture into the egg mixture. Once incorporated, place a fine mesh sieve over a large measuring jug and pour the custard through the sieve.
- Line a rimmed baking dish with a clean tea towel. Place 4 120ml (4oz) ramekins or crème brûlée dishes on top of the tea towel. Pour the custard equally into the ramekins. Pour the boiling water into the rimmed baking tray, ensuring it comes up no more than halfway up the sides of the ramekins. Be careful that no water gets into the custards themselves.
- Carefully move the tray into the oven. Bake the custards for about 20-30 minutes, or until they're set around the edges but still wobble significantly when shaken. If they ripple like a liquid, bake them for longer and test again. Allow the custards to cool completely at room temperature before moving to the refrigerator and allowing them to chill thoroughly – at least 3 hours.
- Move an oven rack to the highest position and preheat the broiler/grill on its highest setting. Remove the custards from the fridge and evenly sprinkle the remaining 35g (3 tbsp) of sugar over them. Set the custards on a rimmed baking tray.
- Move the tray to the top rack of the oven underneath the broiler/grill. Keeping a keen eye on the custards, allow the sugar to completely melt and caramelise on top of the custards, rotating if necessary. Remove from the oven as soon as all of the sugar is melted on top. Once the sugar has hardened into a crust – only a minute or two – serve the crème brûlée.


Notes
Nutrition
Disclaimer: Nutritional information is automatically generated and provided as guidance only. Accuracy is not guaranteed.
Making homemade creme brulee is super simple – even if you don’t have a kitchen torch to use!
Are you after a great creme brulee recipe? Have any questions? Let me know in the comments!


